Once your GNS3 is install and set for use open it.
If you don’t have GNS3 first download and install in your system. Please follow Installation Step.
So Lets Start,
Opne Gns3, then GoTo EDIT option in the toolbar and select PREFERENCE as show below.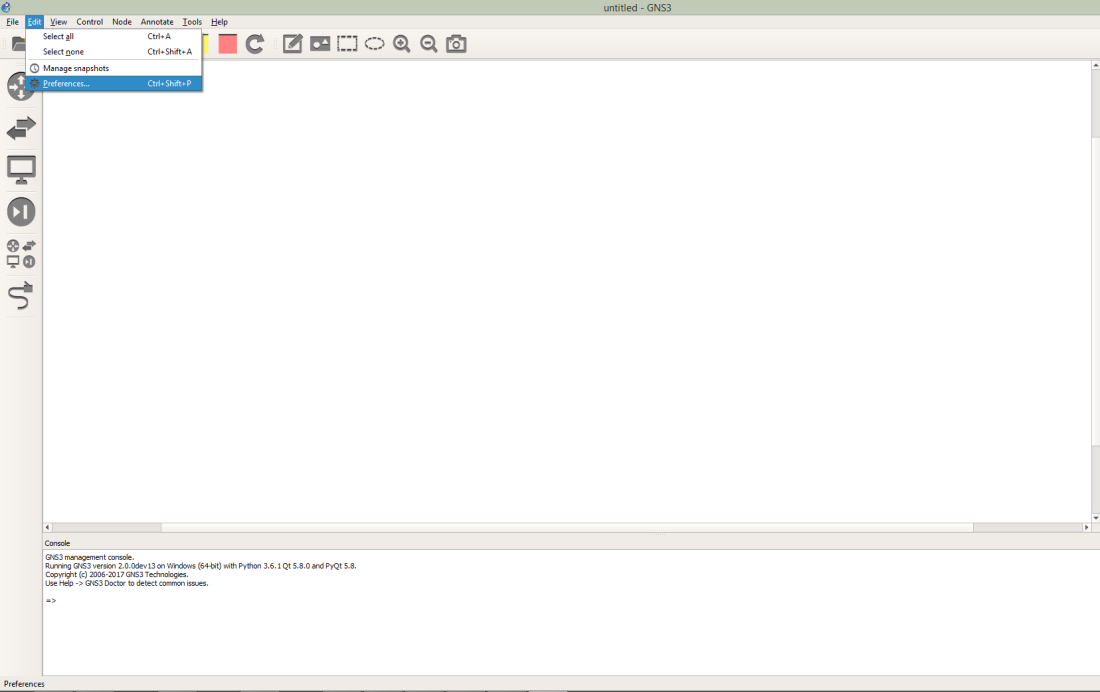
Then Goto QEMU VMs option under the QEMU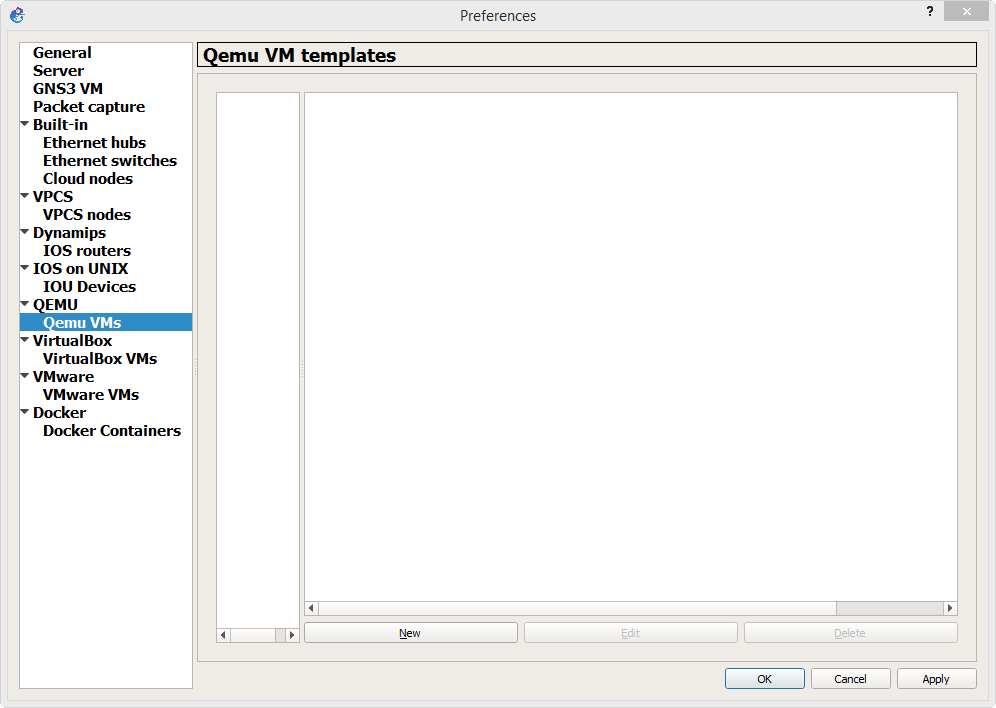
And then select New Button, a templete will be open which will ask that you want to run the Qemu VM on the GNS3 VM or in local computer select run his Quemu Vm on my local computer and hit NEXT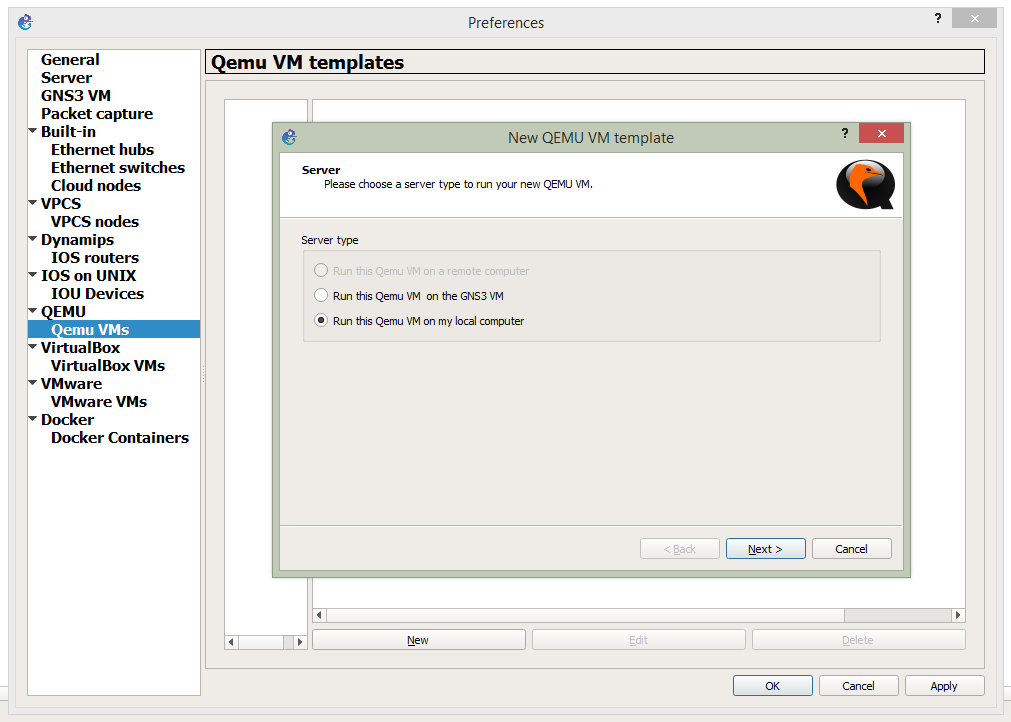
A pop window will open with the recomendation way to run QEMU on Windows or OSX is to use the GnS3 VM.
Just hit OKAY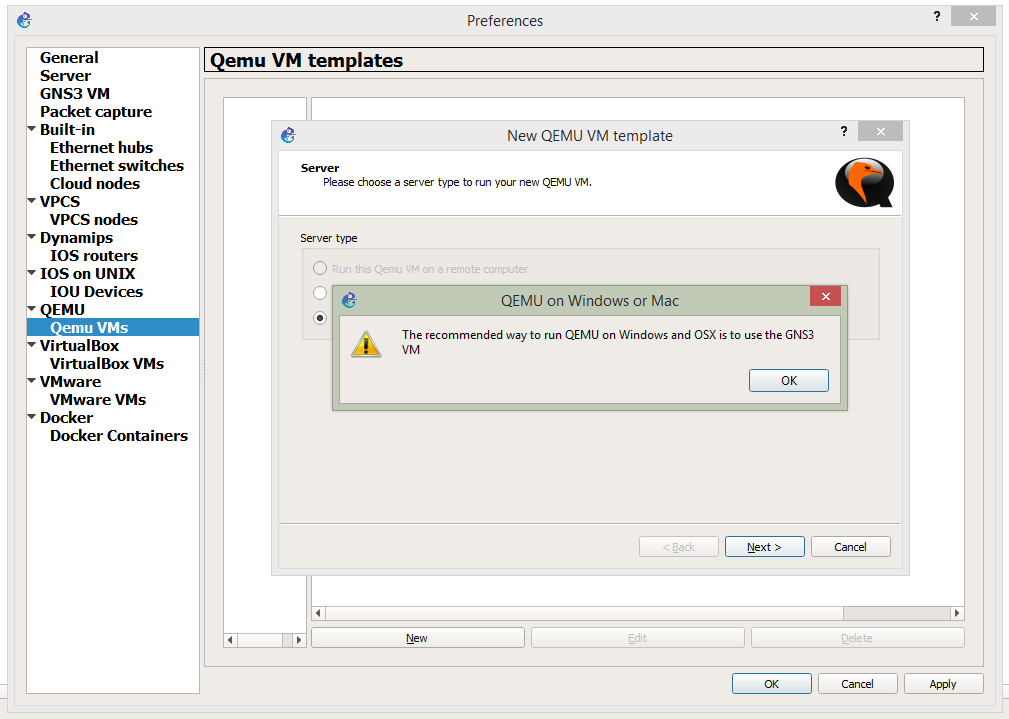
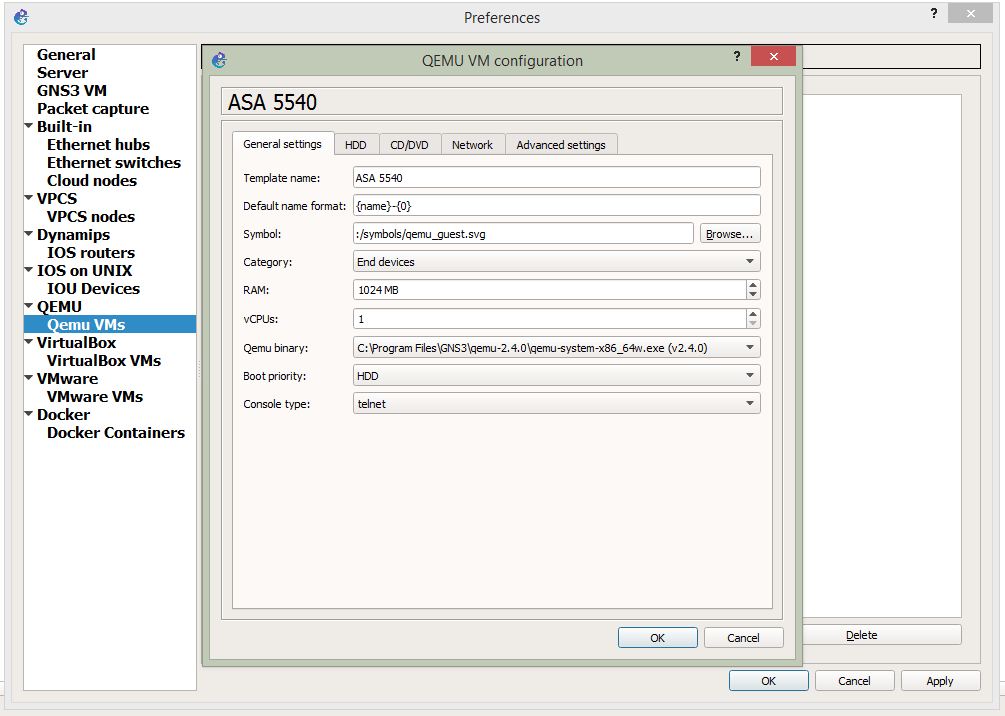
It will ask name so give any identifying name. i’m using ASA5540 and click next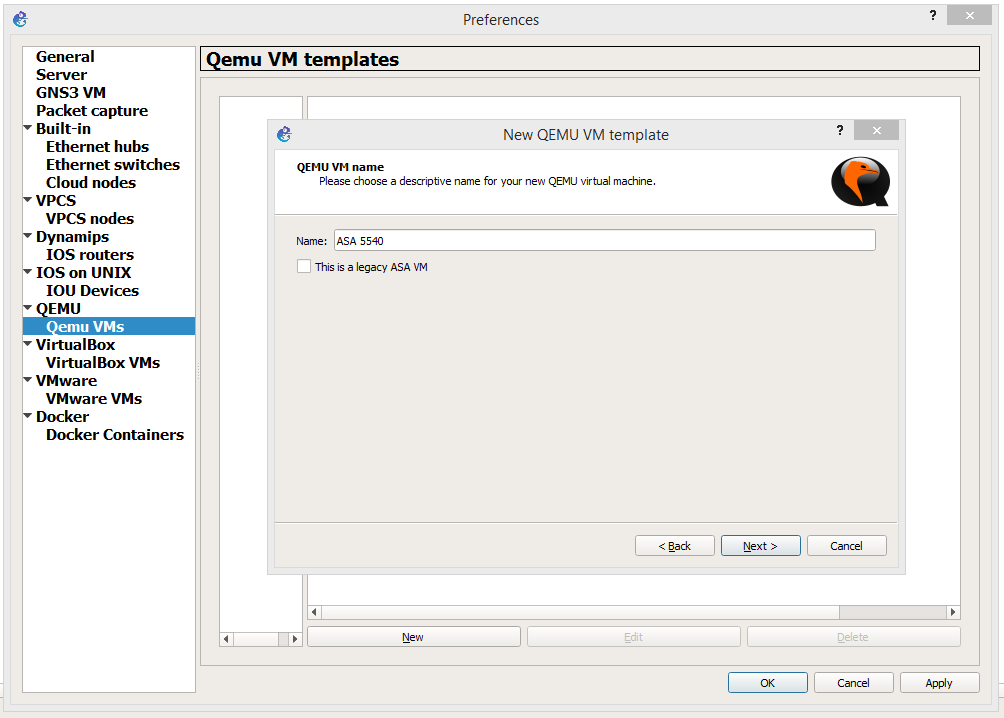
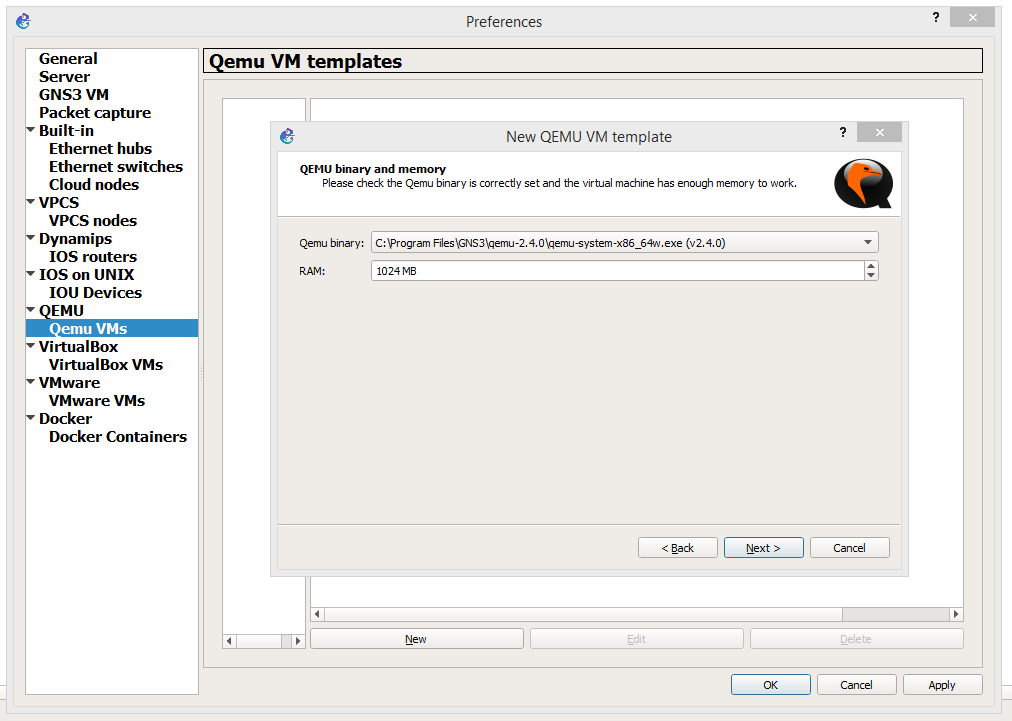
In the next step we have to give Qemu Binary exe path and RAM size
.
By Default path is C:\Program Files\GNS3\qemu-2.4.0\qemu-system-x86_64w.exe
if you have install in different path please provide the path.
RAM – 1024 MB
and click next
In the next step we have to choose the console type i.e. telent or vnc.
Telnet is a command line while VNC give a graphical output.
i will use telnet and click next.

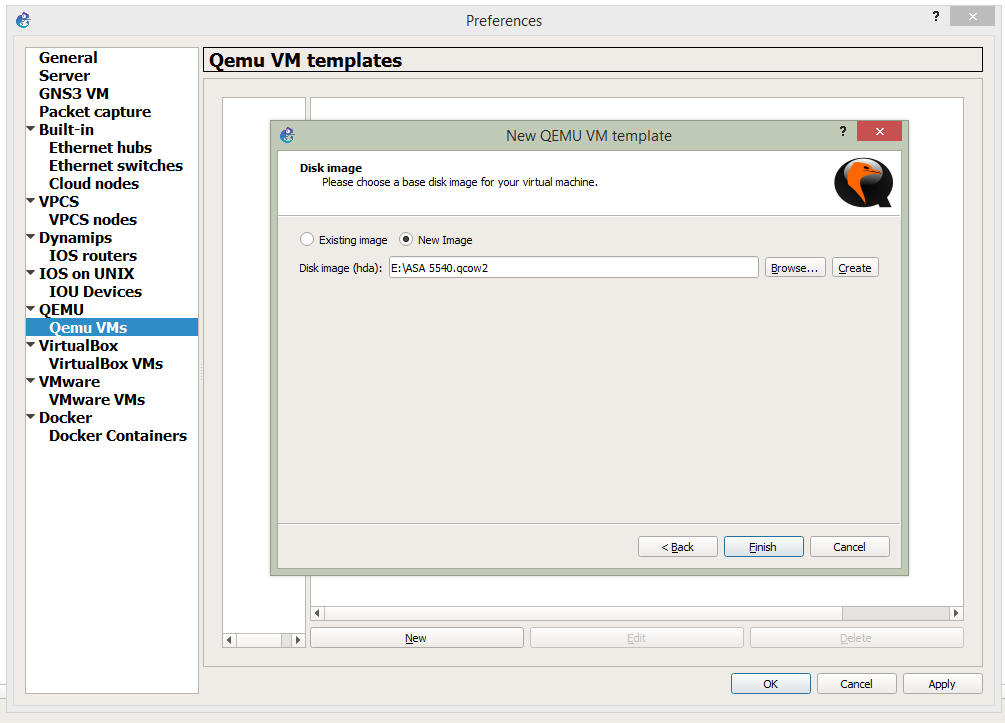
In the next step we have to mention Disk Image also known as Flash.
If you already have then select Existing image button and hit Finish
for those who dont have falsh click New Image button and select create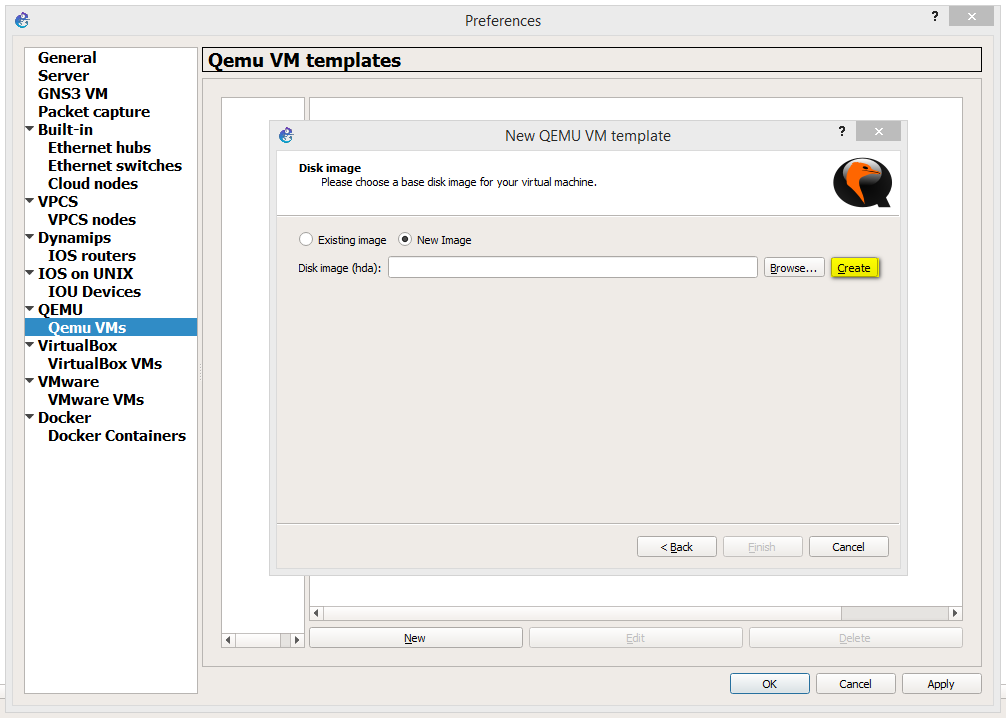
In next step it will ask to slecet qemu-img binary exe. which is used to create disk and here we have to also mention disk format type.
Qemu-img binary exe defualt path C:\Program Files\GNS3\qemu-2.4.0\qemu-img.exe
Image Format – Qcow2 adn hit next button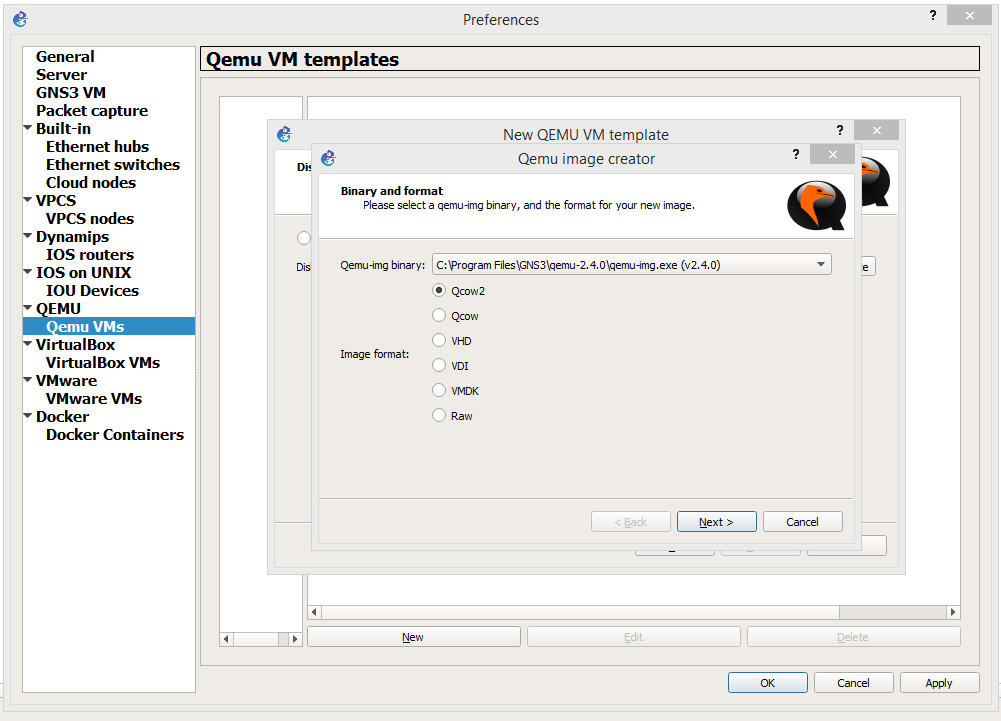
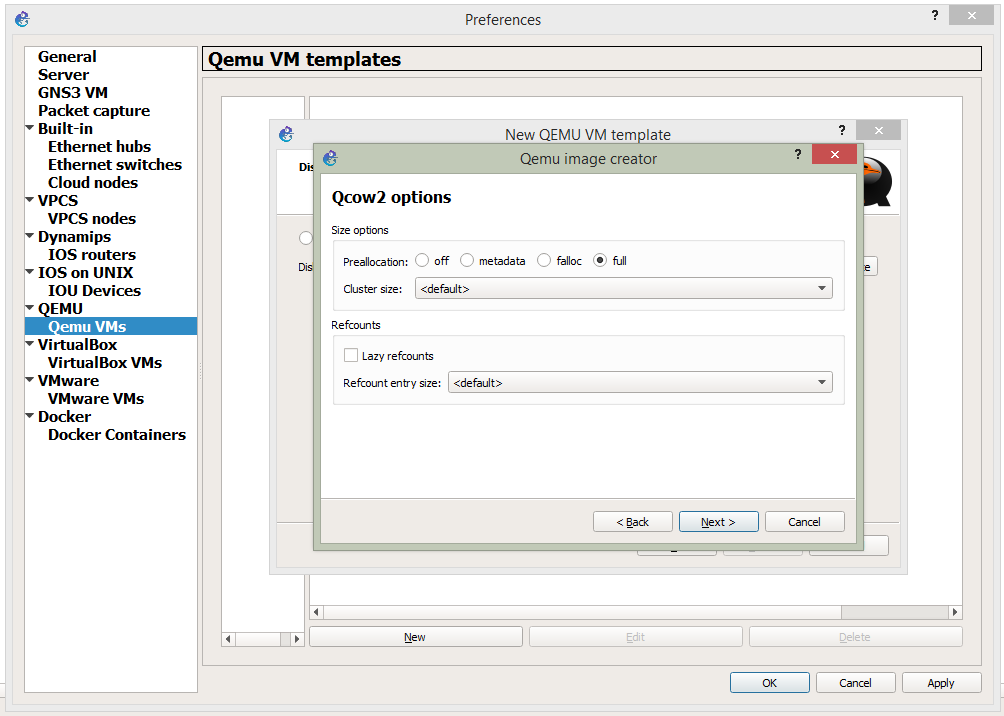
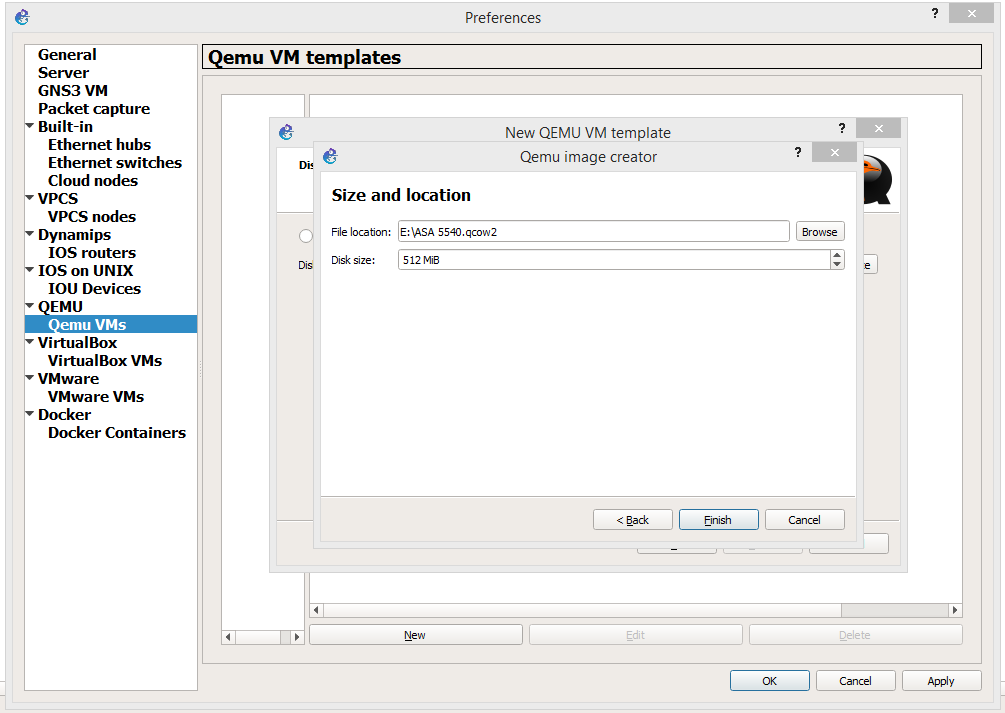
In the next step we have to declare the Prealloctaion, cluster size and refcount entry size. you can keep everything defualt adn go to next step where we have to give the name and location for the file and mention disk size to 512 MiB adn click Fnish.
Fnish Again,
we have successfully created our ASA 5540 Qemu VM
Here we will have Edit otion button enabled for editing and changing the default settings like Network Adaptors, cpu memory etc.
AND most imp we have to add our Initial RAM disk and kernal image without this we will never have ASA running.
so let’s go and complete adn finalaize our ASA 5540 Cicso Firewall Applicane.
GoTo Edit

Here we will increase the network adaptor from 1 which is default to 6 what is required in future we can go to maximum 32.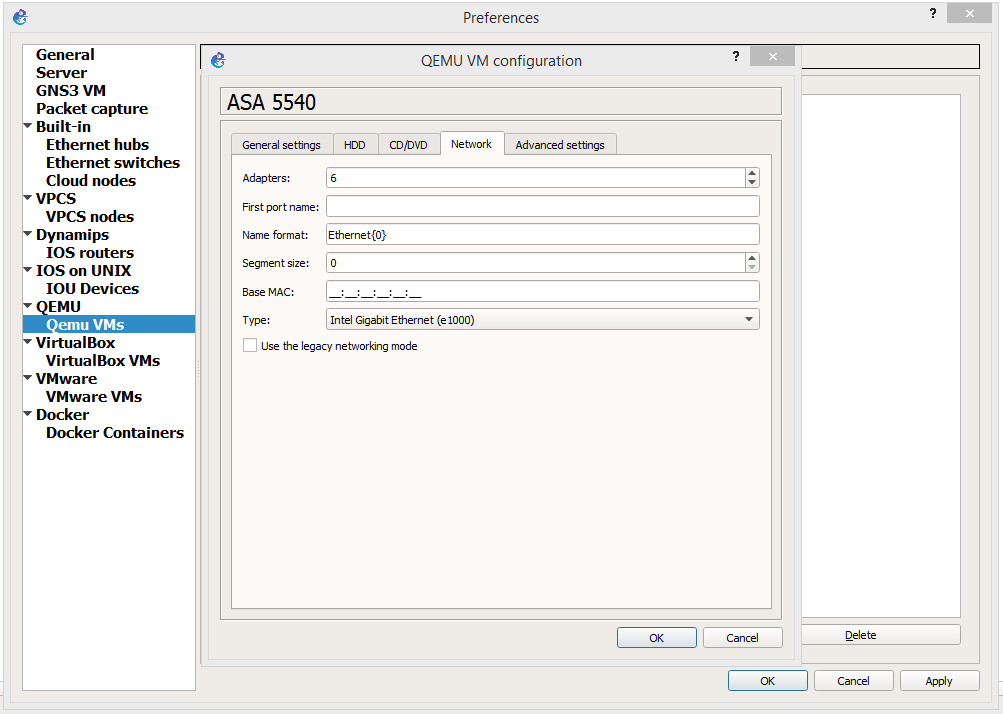
After this we will attach the Initail RAM disk (initrd file) and kernal image which carry our startup-config.
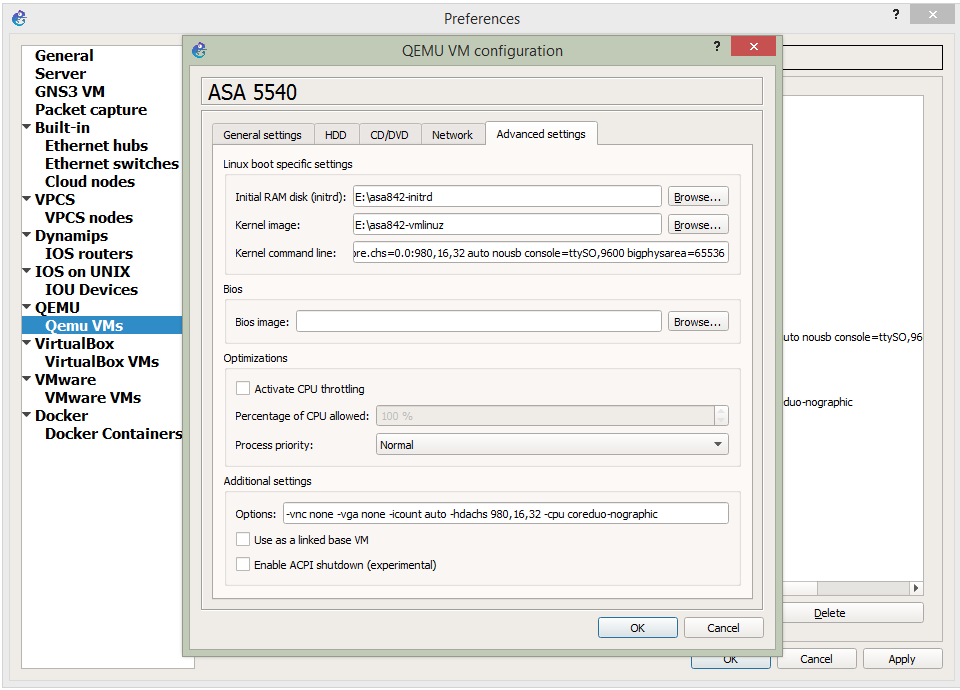
So lets Goto Advanced Settings and provied the paths
Initial RAM DISK: E:\asa842-initrd
Kernal Image: E:\asa842-vmlinuz
Kernal Command line: ide_generic.probe_mask=0x01 ide_core.chs=0.0:980,16,32 auto nousb console=ttyS0,9600 bigphysarea=65536 ide1=noprobe no-hlt
Below in Additional settings
Options: -vnc none -vga none -icount auto -hdachs 980,16,32 -cpu coreduo-nographic
After doing this click OK
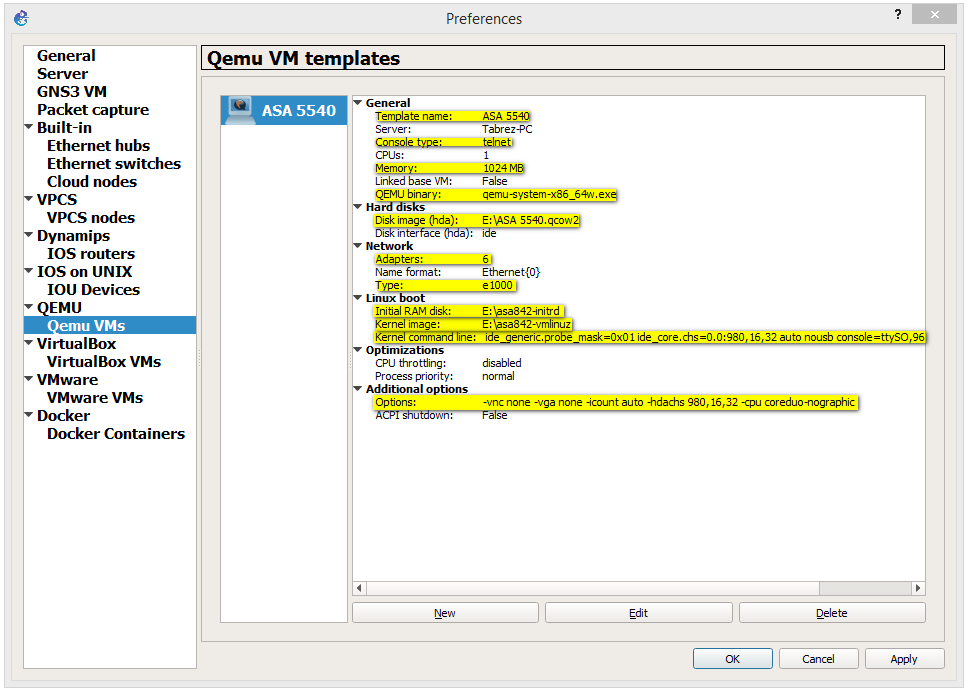
The changes which will affect are highlighted below .
Then Finally click apply and OKAY.
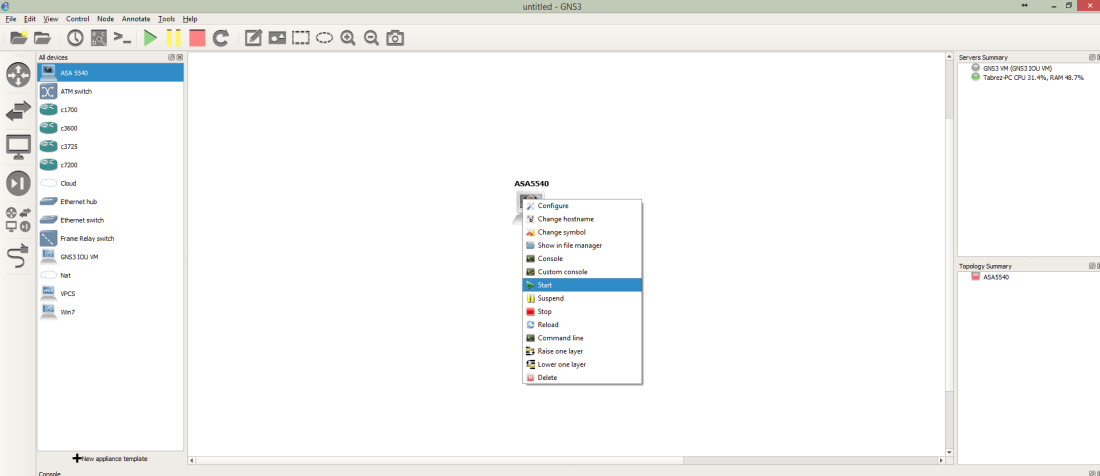
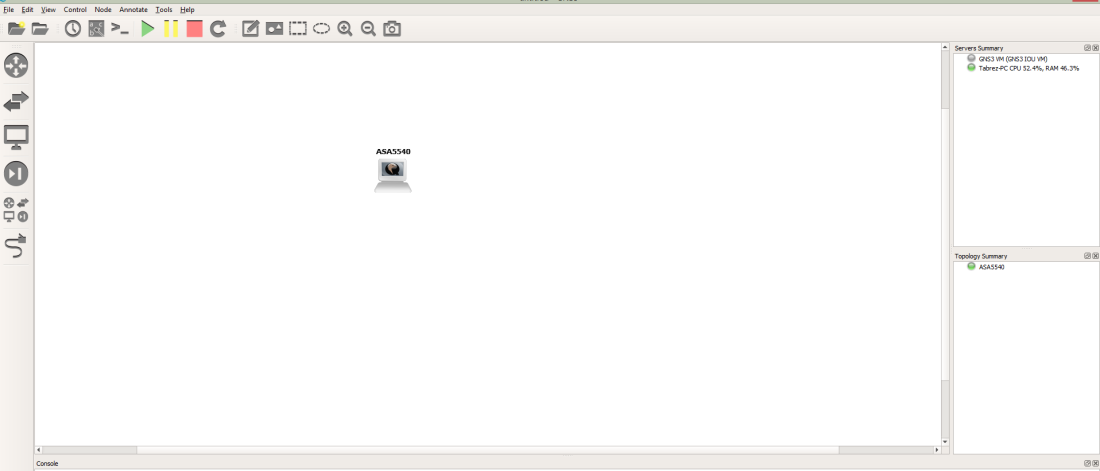
Then go to browse end device or Browse All device and you will find your ASA 5540
Drag the ASA 5540 device in working pannel and right click and select START
It will Prompt Please wait ASA5540 is starting and will start and yo will see green light in Topology Summary on the right hand side.
Again, Right Click on ASA5540 Device and click console.
A telent putty session will be established a pop window will open
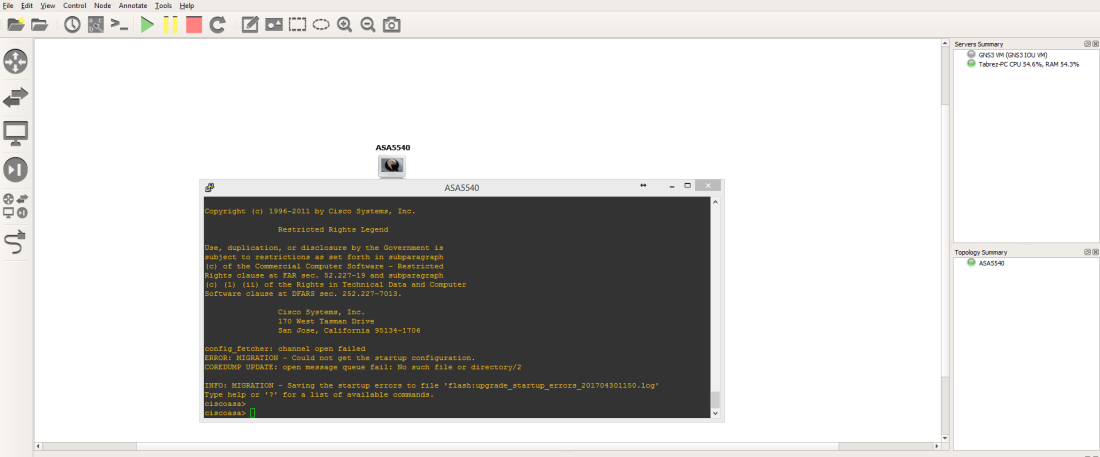
The ASA device has booted successfully. To on Enable mode
Type en or enable and hit enter and Password : is blank so hit enter.
ciscoasa> en
Password:
Thank’s
Please do not for get to follow and comment.
